Tuesday, July 31, 2012

DIY Decorated Box

While perusing Michaels, looking for inspiration for projects I came across these cute little one dollar wood boxes. I guess I should have started this post by saying I have a lot of little things, from earrings to buttons to unidentifiable little objects broken off from various things. And having so many little things makes it hard for me to keep organized therefore boxes tend to me my best friend. So I bought up a bunch of these little boxes took them home and began to decorate.

What You'll Need -
1. Wood Box
2. Primer
3. Paint
4. Printed Internet Images
5. Glue

Step 1 & 2-

Prime your box, wait for it to dry and then paint you box your desired color, may take a few coats (mine certainly did).


Step 3 -

Print out your image, cut them out, and then plan your arrangment on the lid before you glue.


Step 4 - 

Next you can either seal it by using glue over the top OR you can do what I did was coat it in metalic fabric paint. 


Step 5 -


Your done! And here is another box I painted just for kicks. Comment with any questions!

Saturday, July 28, 2012

If I had A Million Dollars - Fred Flare


So the first website where I found the lovely pieces below is Fred Flare. Awesome site which you should check out for items other than the ones pictured below.


3. Sheer Top Dot Dress - SALE - $49.99

TOTAL = $232.98


How To Wear A Short Sleeve Button Up

On my post DIY Tank Sleeve Button Up I received a comment asking for some tips on how to style a sleeveless button up. (Sorry about the late reply!) So bellow are some tips on interesting ways to wear a sleeveless button up, I hope you find this helpful!

1. Front Knot
It is no secret that that showing just a little bit of skin either on your back or on your waist is a huge trend. Well you can accomplish this same look without spending 30 dollars or cutting a hole in your favorite t-shirt. Just take your button up, unbutton the last two buttons and just tie them in a knot raising the bottom of your shirt to rest around your belly button.


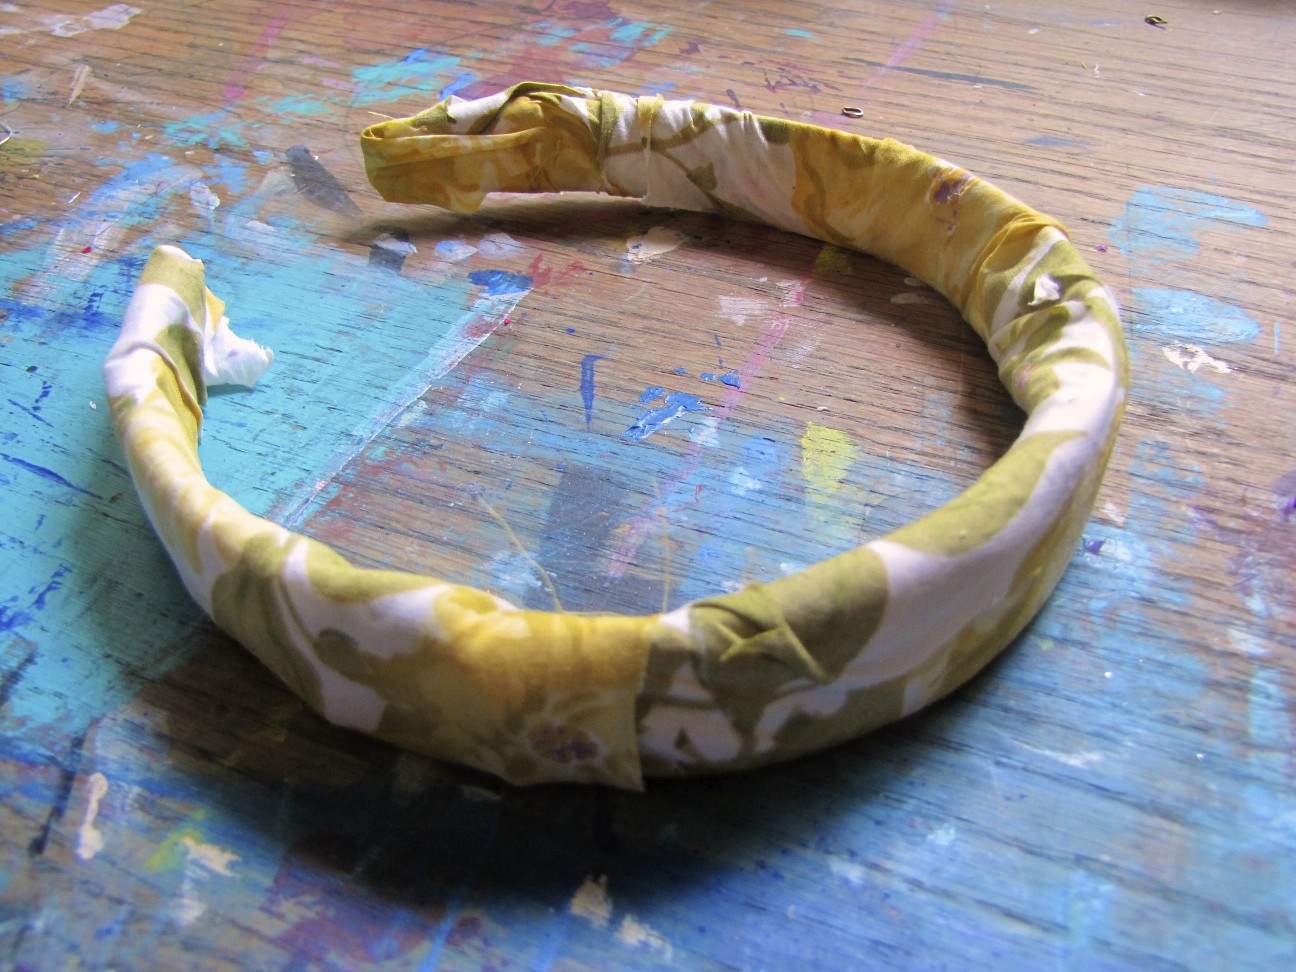
I paired this look with a pair of high waisted shorts, my favorite tan heals and (recognize the headband?) all together this makes for a 60's inspired look perfect for a casual day in the park. 

2. Tucked In
You can also always go the classic route and tuck it into a skirt, shorts, or a pair of jeans. This way is timeless and also key if you plan on wearing your button up for a work or formal occasion.


This outfit features one of my favorite skirts which, fun fact, was the skirt I had to wear for the brief time I went to a private school. I love this skirt, it can literally be worn with anything for pretty much any occasion. 

3.  Half Tucked In
This look is exactly what the title says, half tucked in and the other half not. In theory this might sound odd but trust me this look is killer.


4. Paired With A Bandage Skirt
This look is mainly used to showcase the classic untucked look which is always a timeless way to go. 


This look features one of my favorite skirts, a starry print bandage skirt from H&M and simple black boots from UrbanOG accessorized with handmade beaded jewelry. 


Friday, July 27, 2012

DIY Headband

Headbands are awesome. I love them and when I was sorting through my hair accessories I found I had a surplus of plain headbands that I haven't worn, well probably since middle school. So instead of throwing them out I have come up with a plan to repurpose them.

What you will need:

1. A plain headband, cheap ones can be found CVS
2. Fabric
3. Glue
4. Any embellishments you wish to use, I will be using gold fabric paint.

Step 1.
Get out your glue and literally just attack your headband with it and then just stick it to the fabric.


Step 2.
Attack the inside of the headband with glue and then just begin to wrap the remainder of the fabric around glueing when nessecary. Tip, try and make it so that the edges are on the inside of the headband, you can trim the fabric if you need to.


Step 3.
Now you can either stop here OR you can choose to add some embellishments, because come on, who doesn't love embellishments?


Step 4.
I decided to just keep it simple and add some gold metallic dots with fabric paint all the way around the band.


And ta-da! You have a brand new headband to add to your collection!

Sunday, July 22, 2012

All About Boots

Okay. So I have an obsession and I am not afraid to admit it.
Boots.
Lately all I have wanted to do is spend money on boots.

The shop that I currently believe has the best collection is urbanog.
I LOVE this place, they have great prices and even greater products.


Currently on my wishlist (and a product I think I am going to end up buying) are the Qupid Priority 12 Cowboy Ankle Bootie.
Seriously,  so cute, I just love the little heel! And what I love the most about this boot? It's only 26.50! I mean just imagine how cute these would look with a skirt/shorts paired with tights or even just your favorite pair of jeans!
Yeah, I think I am going to have to end up buying these.